Sunday, February 21, 2016

Tim Holtz Distress crayons part 3

I have made some cards with the pieces I was playing with


I used some distress inks and glitter gel pens on this card


Tim Holtz distress crayons part 2

Well I am still playing with my crayons...

For this first one I painted the card in white gesso, then scribbled some distress crayons on the card, then use my paintbrush and water to spread the crayons and then I laid a stencil on top and spritzed with water then gently pressed a paper towel onto the top to remove some of the colour..


For this one I used white gesso on card then used a stencil and a white crayon to apply dots on my card, I left the card until the crayon could no longer be smudged by touching it , then used a mini blending to tool to add distress ink then spritzed it with pearl pearl-ex, water and gum Arabic mix.
It gives it a soft shimmery look

For the next 2 I used a varnish glue as I don't have collage medium and I wanted to try out a technique Tim Holtz showed at CHA2016. So I coated some card with this medium and layered on some collage pieces with more medium coating the whole work with this medium. When this dried I add some distress crayon and blended it with my fingers..( sorry the photo is not very good)


On this one once I added the crayon I put stencils on top and used a wet wipe to remove some of the crayon..


Saturday, February 20, 2016

Tim Holtz distress crayons part 1

Well I got my got my Distress crayons this week and the colours are yummy...


I did a colour swatch card for them, leaving them in their groupings. I scribbled on to a small piece of card then blended it out a bit with my finger.


Then I decided to have a play, I used a piece of Tim Holtz distress paper, Dylusions small dotted flowers stencil and the white distress crayon. I used the crayon where the dots were on my paper and blended it with my finger, then heat set it, I then used mini ink blending tools and dried Marigold, Tumbled glass and picked raspberry ink pads, when I had finished blending I spritzed the paper with water and used a heat gun to dry


for the next sample I used watercolour paper and scribbled onto it and used a brush and water to blend it out.. although it does blend out you can still see the original scribble


For my next one I used a piece of white card and painted on a thin layer of white gesso, once it had dried, I once again scribbled with my crayons and used a paintbrush and water, this time it blended out much smoother and you can't see the original scribble ( just my brush strokes..).


for this piece I also put gesso onto a piece of card, this time I only used 4 crayons and blended them better than my first attempt, getting the colours to mix.. I definitely like the way the come out on the gesso


Saturday, February 13, 2016

cards made using my watercolour plaid backgrounds

I made these 3 cards using my watercolour Plaid backgrounds I made.
to make these cards I used
Perfect layers ( I keep forgetting to mention I used these great rulers)
Archival ink - black
black embossing powder
La Pashe Flippin' men stamp sets
Penny Black Heartfelt stamp set
Spectrum Aqua markers ( my first attempt as using these markers)
clear glitter gelly roller
paintbrush
brad
ribbon
purple paper
pva glue
d/s tape
various pieces of cardstock


Watercolour Plaid backgrounds

Last year I mentioned that I was gonna do Watercolor for cardmakers class, well I had a few interruptions and didn't get back to it until today, after pulling out my watercolour paints yesterday and making a card I had so much fun I went back to the on-line classroom today and did this pre-class watercolour exercise painting Plaid backgrounds. I had a lot of fun and think my first attempts aren't too bad..


 Now to make some cards..

Friday, February 12, 2016

My first attempt at a watercoloured background..

In case you haven't already guessed.. I love colour and have lot's of different colour mediums.. I thought I would take a break from melted crayons and try this background idea I saw on YouTube..
I die cut out a heart out of foam and used it as a stamp, I stamped it with Versamark and clear heat embossed it then used my watercolour paints on the background, then ironed the piece between 2 pieces of paper..
this is the tutorial I watched

Mine isn't exactly the same and I didn't do the origami fold...

I hope you like my first attempt
I am entering this card into the Winter Wonderland  Have A Heart challenge


Melted crayon technique part 3

I decided not to use the backgrounds that I had already made for the card samples as I wanted background samples as well..
So I made some more melted crayon backgrounds and these are the cards I made


To make the various cards I used
Stamps from Darkroom door, Magenta, Impression Obsession, stamp it and Penny Black
Stencils from TCW
Embossing folders from Cuttlebug ,Couture creations and Inside out
Texture pastes from Tim Holtz and Jo Sonja
Ink pads from Stazon, Versamark, Colorbox, Brilliance, Versafine and Memories
Spectrum Aqua markers
Clear glitter Gelly roll
Derwent chalk
Various card stock
d/s tape and foam
clear acetate
and various bits and bobs for embellishment


Thursday, February 11, 2016

Melted crayon technique part 2

Next step I did was to play with some different mediums on the backgrounds...


some of the things I did didn't photograph very well but I'll try show as best I can..


On these ones I used embossing folders then somewhite glue over themto give a glossy texture


the next one was dry embossed in an embossing folder, but I didn't seal it with any glue so it has a matt finish


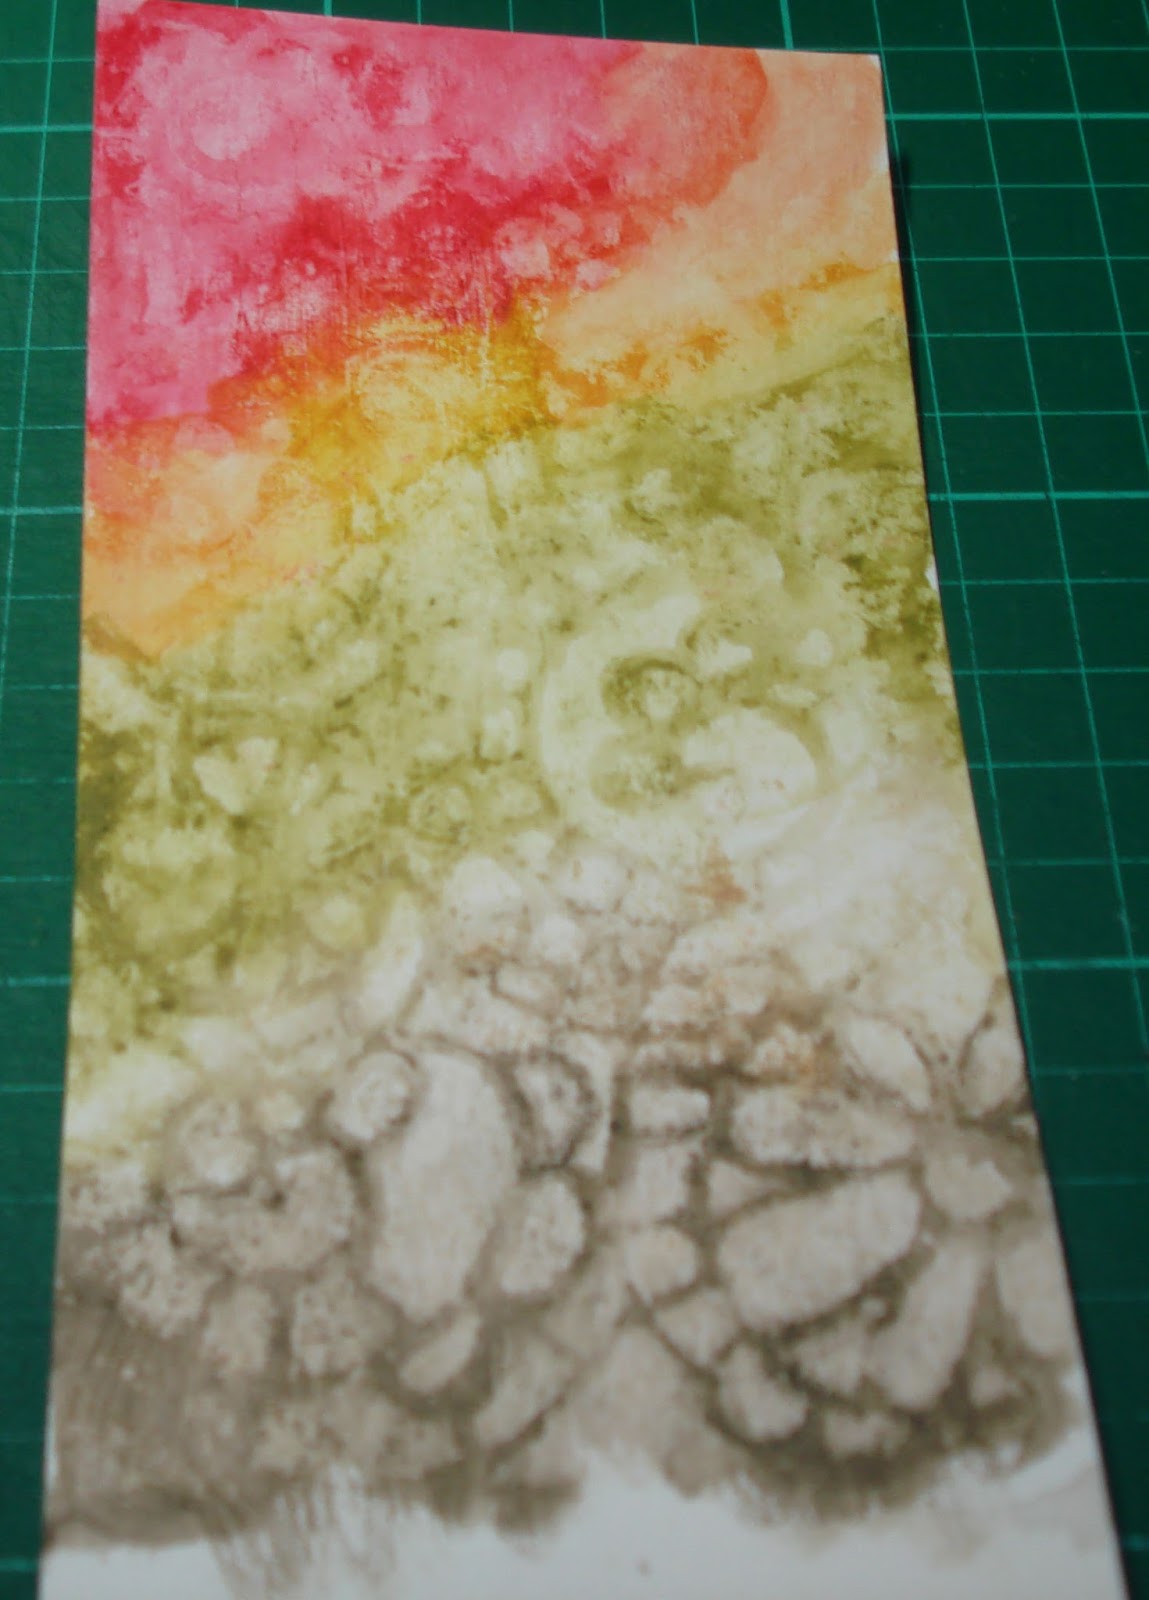
I used an embossing folder on the next 4 too, then I swiped them with a versamark ink pad, (you need to make sure you do this gently so only to get ink on the raised parts, you can brush off the powder with a paintbrush if it gets in the wrongs spots, although I didn't mind a little bit here and there as it added to the distressed look) I used clear embossing powder and heat set it, the first 3 cards I then used a mini ink blending tool and Brilliance Graphite black pigment ink, it easily wipes off the embossing, the 4th card I left with just the clear embossing


The next 3 I stamped with stazon black ink..


then I started playing with stencils..
for this one I used a mini ink blending tool with Brilliance Graphite black and a Tim Holts stencil


for the next two I used the Tim Holtz stencil again for one and a TCW stencil for the other with Ranger texture paste transparent gloss.. I hope you can see this, they look way better in real life..


For the next two I once again used stencils, One from Tim Holtz and one from TCW, but this time I used Jo Sonja's texture paste


Lastly I used Jo Sonja's Crackle medium for the last 2 and some Tim Holtz  vintage photo distress ink applied with a mini ink  blending tool.. these are hard to see though


I had a lot of fun playing with these... next I'll make some cards.. I will put them on my blog when finished..

Melted crayon technique part 1

This is a technique I have shared before and I will link to the instructions in a post from June 24 2014 for my melted crayon technique . Kaeren Sutherland and I are doing a make and take demo at our next ACTSA ( ACT stamp artists) meeting so I have made some samples...